Monday, October 25, 2010

Here Fishy Fishy Fishy!

I have been crafting and sewing quite a bit lately. It's been a lot more fun making gifts for people. I love finding creative tutorials for fun toys I can make for my kids. It's very easy to find things to make for little girls. Most of my close friends have little boys. As I was searching for little boy craft projects I came across this Fishing Game on From an Igloo. It is totally adorable. One of my friends little boys is having a birthday this week and I decided this would be his gift.

Here is my version of the Fishing Game.  


This is an easy project and can be made with left over scrap fabric. My problem was, I didn't have enough scrap fabric that wasn't girly. I only had a few neutral colors. My favorite thrift store was having 75% off day last weekend, so I bought some boy shirts and onesies and used those for my fabric. I think total it only cost about $2.00 for the fabric. The washers were also very cheap, the box was $1.50 at Wal-Mart. I used buttons from my own collection of spares. I filled them with poly fill and did a slip stitch to close them on the bottom.

The tutorial showed disk magnets with a hole drilled in to hang from the yarn on the fishing pole. Adam tried this, and broke the drill bit, so I made a small fabric pouch to put the magnet in.

The magnets were also inexpensive, $1.50 for 6 of them. Although it takes the time to make, it's a very inexpensive gift. I made this entire gift for about $10.00. Handmade gifts are always more special than store bought.


I made this "tackle box" container to hold the fishies, and added the little boys name with foam letter stickers. This box was $2.50 at Wal-Mart and the 10 little fishies fit perfectly inside.
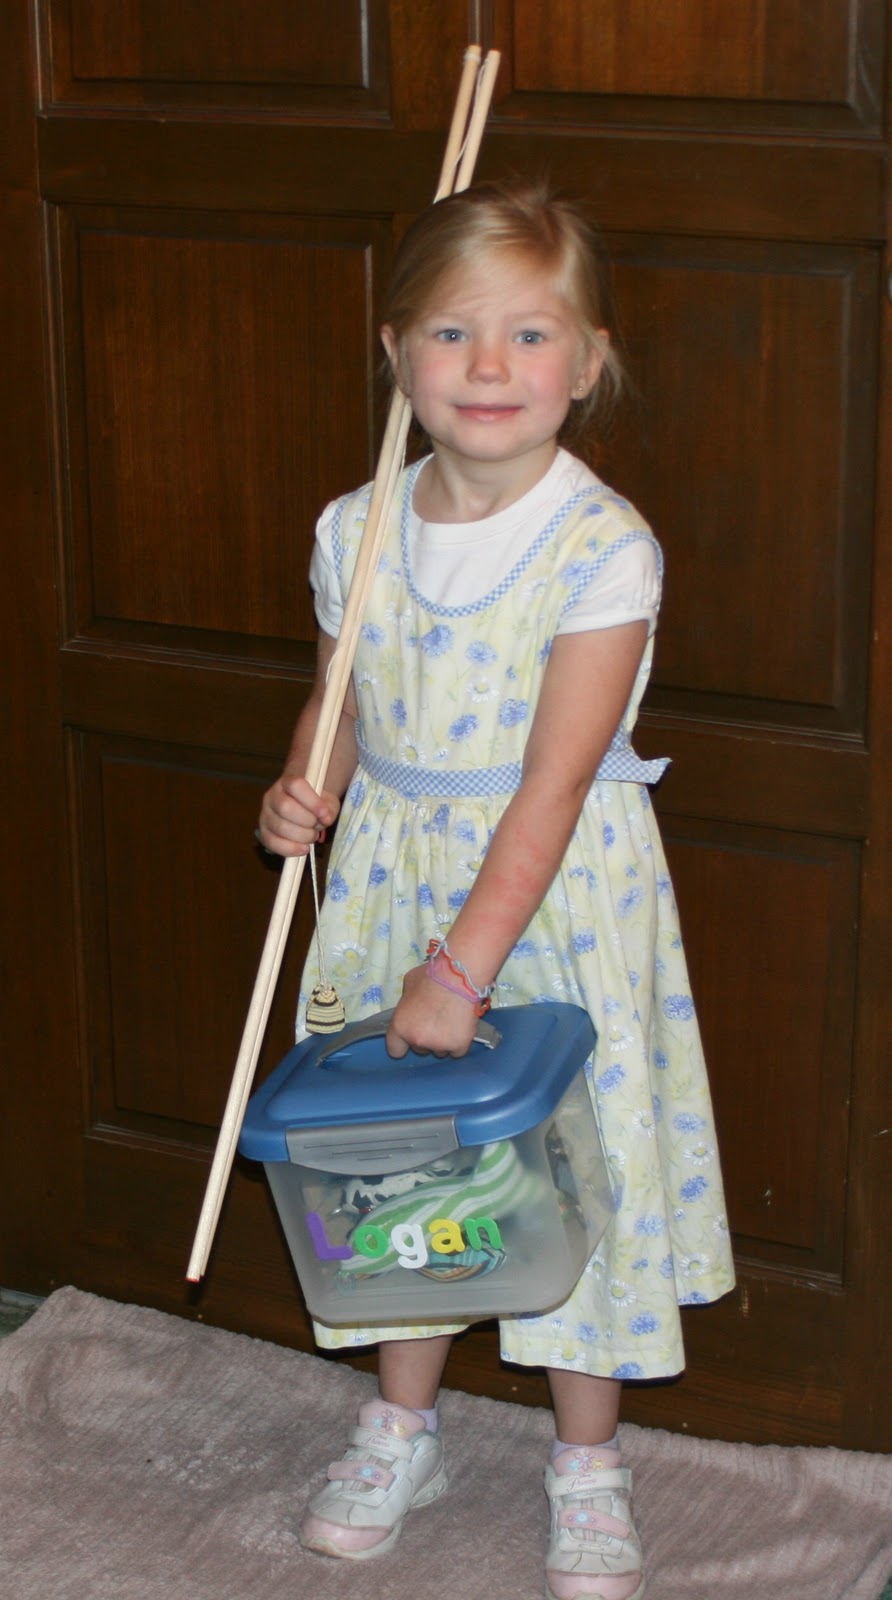

Here is Emily being the model for our gift. She's all set to fish.

Here we are in action. The washers sewn to the fishies nose, connect perfectly to the magnets.

Emily and Julia really love this game. I will be making one for them this week. My older girls even love the game. I think this is going to be my new favorite gift for little ones.

Golf Towel Gift Project

I posted on my regular blog about the towels. I'm in the process of moving my crafting projects here. This will be my crafting blog. The Adventures blog will be for family updates.

Adventures in Raising Girls: Golf Towels for my Dad:

Friday, October 22, 2010

Anniversary or Wedding Gift Frame

I saw this darling wedding gift heart frame on Etsy for a sale price of $49 plus shipping. YIKES! It's very nice. I would like one for myself, but never would I pay $50 for it. She also had a larger one for $100. AS soon as I saw it I knew I could make it myself. So I did.....


I made this for my Pastor and his wonderful wife's 19th anniversary. I bought a 10x10 white shadow box for $8.99. It had a black background so I covered it with white textured paper for scrap booking. I used a heart shaped paper punch and punched flowers in magazines. I printed each of their first initials and their wedding date and punched those out. The hearts are all folded in half and glued down on one side so that the other side sticks up. It was quite a bit of work to get them evenly in the center and even with each other, but otherwise it was a simple cheap gift and it's beautiful. I think I'll be making one of these for Adam and myself.

Mrs. Pastor LOVED it. I was too excited to wait to see them at church so I drove it over to her today.

Thursday, July 1, 2010

Baby Pillowcase Style Dress with Diaper Cover Tutorial DIY


This is a  pillowcase style baby dress I made for my friend who just had a little girl. I found this adorable blue toile fabric remnant and I had no idea what I would use it for. It was only about a dollar and too cute to pass up. I was thinking I would make a throw pillow cover with it. It was the perfect amount of material for a baby dress.

Measurements for this baby dress were 12" L , 17" W, Arm holes cut at 2.5" L x 2" W J cut, the bottom hemmed with bias tape and ilet ribbon. The armholes are lined with brown fabric made bias tape, and grosgrain ribbon for the tie. The diaper cover is just plain white fabric, also from a remnant. The entire dress cost about $5.00 to make.


Supplies:

2 pieces of cotton fabric cut 17"w x 12"L
Double fold bias tape to match
Matching grosgrain ribbon
Coordinating cotton thread
White eyelet ruffle trim or something similar. This can be optional.

Diaper Cover:
I had no idea how to make the diaper cover so I followed this tutorial with free pattern. I took an inch off the side and top of the pattern so it would fit a 3/6 mo baby.

The beauty of the pillowcase dress is that it can grow with the child. A dress that fits a 3 month old baby can be used as a shirt for a 12 month old child. It can be worn in warm or cold weather. A long sleeve shirt under and leggings is perfect for when it's cool out.


To make. Cut your fabric into 2 17" W x 12" L pieces. With right sides together sew each side length with 5/8" seam. Turn right way and press. Fold the dress in half lengthwise to cut arm holes. I made a template with card stock, 2.5" x 2" J cut. Trace or pin the template to the top and side of the dress and cut the arm holes. It's best to do them at the same time so that the arm holes are exactly the same.


I'm sorry I don't have photos of all the steps. I wasn't originally going to write a tutorial. Now sew bias tape on to each armhole. Next is the top front and back. Fold each side 1/4" and then 3/4" and press. This will be the casing for your ribbon. Sew the casing as close as you can to the edge. Also sew double fold bias tape along the bottom hem of the dress. Then sew on the eyelet ruffle, this is optionial but it really completes the dress.


You will determine how long you think the ribbon should be. Feed it through the front casing and then around through the back casing. Attaching a safety pin to the end will help make this easier. Keep the fabric casing flat and allow adequate ribbon to tie in a bow and have a little hang down. After  you have your cut length, scrunch the casing along the ribbon and tie a bow. It will look like this below:

Cute, isn't it?

Since this was a gift, I hung it on a special baby hanger and made a gift tag. I used a vintage photo of a little girl that I found and printed it on card stock. I cut it with pinking shears and tied it to the hanger with ribbon. I love the boutique look of the whole gift.


I attached a clothes pin to the back of the hanger with ribbon to hold the diaper cover.


If you have any questions on any of the steps. I'll be happy to help. This is a very easy project for even beginning sewers.

Wednesday, June 9, 2010

Letter "E" Tinkerbell Pixie or Fairy Glitter Green Bow Holder

This can be done with any letter


9" Wooden initial "E" purple base with green glitter coating, pink edges, shimmery fairy wings, dual Tinkerbell Pixies ribbon.
Length of each ribbon is 23"

Letter "J" Ladybug Bow Holder

This can be done with any letter

9" Wooden initial "J" Ladybug, double ribbon
Length of each ribbon is 22"

Glow in the Dark Letter "S" Green & White Polka Dot with Hook

This can be done with any letter

This letter has a washable coat of Glow in the Dark paint. If it gets wet it will wash off. Charge under the light for 1 minute and it will glow.

9" Wooden inital "S, lime green white polka dot with hook for purse or scarf