Showing posts with label Girls. Show all posts

Thursday, April 21, 2011

Valance to Skirt - Quickie Sewing Project

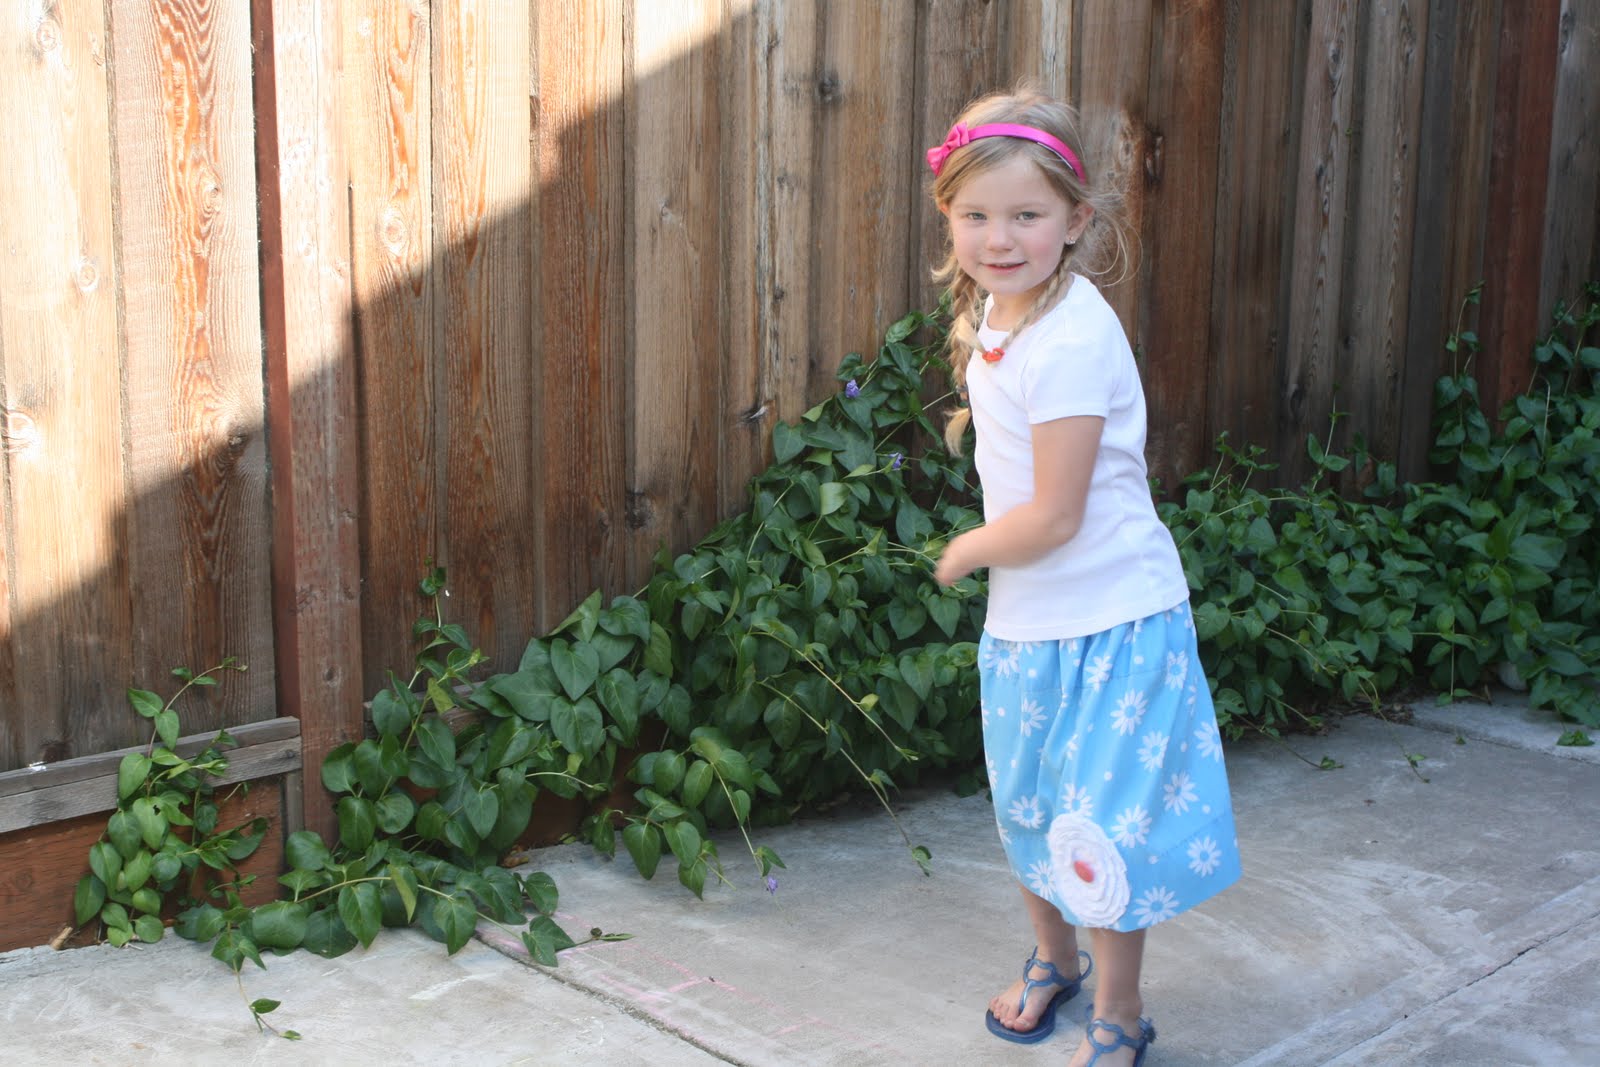
I found this blue flowery Disney window valance a the thrift store for 10 cents and figured it would make a cute skirt. I came across it this morning while going through my fabric bin. It was a quick 10 minute project and turned out cute, but was missing something. So I spent the next half hour making a fabric flower for the front. It's darling. My sewing week is coming to an end, and I haven't even posted all the new stuff I sewed. I'll get to it eventually. 

Before: A cute window valance
After: An even cuter skirt
With a darling fabric flower


Wednesday, November 10, 2010

Rolling Right Along - Colored Pencil - Crayon Roll


My youngest girls received crayon rolls from a friend last year for Christmas. I had never seen one before, but I loved it. I have seen a few now out in the crafting world and I decided to make some for the kids for Christmas gifts. After a few tries doing different things I have made my own creation pulling ideas from here and there.

This tutorial is going to be for a roll that holds Colored Pencils or skinny markers. This will also work for crochet hooks or makeup brushes. It's really too tall for crayons. This one is for an older child/pre-teen. A crayon roll would be shorter. I will post a tutorial for that later.

I really appreciate a lot of pictures when I'm trying to follow a tutorial, so I've tried to make this as detailed as possible.

ROLLING RIGHT ALONG PENCIL ROLL

SUPPLIES:
1 cut fabric 16x20
1 cut fabric 8x20
1 cut grosgrain ribbon 30 to 32 inches long
matching thread

~ Cut two pieces of fabric one 18 x 20" for the main roll and the other 8 x 20" for the pencil slots ~


~ Fold each piece in half lengthwise and press ~


~ Take the smaller piece and mark the places to divide the pencil slots. The raw open edge should be down. I marked 3/8" from the end to allow for  the seam ~


~ Using a fabric pencil or pins mark the lines 1" apart.  I made 16 1" slots and left a large 3" slot at the end for a larger item. And again mark a 3/8" for the seam ~ 


~ Open up the larger piece of fabric and pin the smaller piece to the bottom ~  


~ Sew along all of your marked lines to form the slots for your pencils. Don't sew the seam marks on the edges ~ 


~ Fold the large piece in half - right sides together and pin ~


~ Oh, I almost forgot! Be sure to get your sewing cat helper in place ~

 ~ Then sew along the 3 open edges 1/4" seams leaving 2" to 3" at the top side edge to allow for turning ~


~ Trim your corners ~


~ Turn right side out and press. You can carefully use your seam ripper to pull the corners so they are nice and flat and pointy ~

~ Fold in the edges of the opening so it's even with the sewn edge ~


~ Grab your cut ribbon and fold in half, press a crease. Place it in the opening right above the pencil slots about an inch in and pin in place ~


~ Fold the ribbon over and pin so that it doesn't get caught in the top stitching. Top stitch along all 4 sides staying close to the edge. Stop when you get to the ribbon. Un-pin the ribbon and fold it back over ~ 


~ Sew the opening closed and securing the ribbon inside the roll ~


Yes, you aren't going crazy, it was a white ribbon before. My daughter came up to me as I was sewing the seam closed and said "That would have been so pretty with a red ribbon" Since this is her birthday present (she doesn't know that). I took the white ribbon out and put in a red one. She was right, it's way cuter with red ribbon.  


~ Sew along the ribbon inside the roll to enforce it. See below ~


~ And...Voila... You're finished! ~


~ This is going to hold colored twist pencils or sketching pencils but I used Crayola markers for this picture ~


~*~*~*~*~*~*~*~*~*~*~

I wanted to do more than just the pencil roll. I searched for an easy tote bag to make, so that she can take along a sketch book and her pencil roll easily. I came across a super easy tutorial for a nice reversible tote bag. The tutorial is here on Skip to My Lou. I didn't follow it exactly. I used it as a base and made my own creation. My straps are much thicker, and they're patchwork using all the fabrics in the tote and the pencil roll. Also, I added a pocket and each of the sides inside and out are a different color fabric. It really turned out nice and goes so well with the pencil roll.


I am also making a roll an tote for my other daughter who shares the same birthday. They are twins. I will post pictures of that one once I finish it. They don't know these are for them, so I'm having them help design them to their liking. Sneaky Mama, I know.

Please leave a comment and let me know if the tutorial was easy to follow or if I need some improvements. Also, if you make one, I'd love to see it so be sure to link it to me. I would love to be linked to your craft blog also so feel free to share my pencil roll.

~ Have a blessed day ~

Monday, October 25, 2010

Here Fishy Fishy Fishy!

I have been crafting and sewing quite a bit lately. It's been a lot more fun making gifts for people. I love finding creative tutorials for fun toys I can make for my kids. It's very easy to find things to make for little girls. Most of my close friends have little boys. As I was searching for little boy craft projects I came across this Fishing Game on From an Igloo. It is totally adorable. One of my friends little boys is having a birthday this week and I decided this would be his gift.

Here is my version of the Fishing Game.  


This is an easy project and can be made with left over scrap fabric. My problem was, I didn't have enough scrap fabric that wasn't girly. I only had a few neutral colors. My favorite thrift store was having 75% off day last weekend, so I bought some boy shirts and onesies and used those for my fabric. I think total it only cost about $2.00 for the fabric. The washers were also very cheap, the box was $1.50 at Wal-Mart. I used buttons from my own collection of spares. I filled them with poly fill and did a slip stitch to close them on the bottom.

The tutorial showed disk magnets with a hole drilled in to hang from the yarn on the fishing pole. Adam tried this, and broke the drill bit, so I made a small fabric pouch to put the magnet in.

The magnets were also inexpensive, $1.50 for 6 of them. Although it takes the time to make, it's a very inexpensive gift. I made this entire gift for about $10.00. Handmade gifts are always more special than store bought.


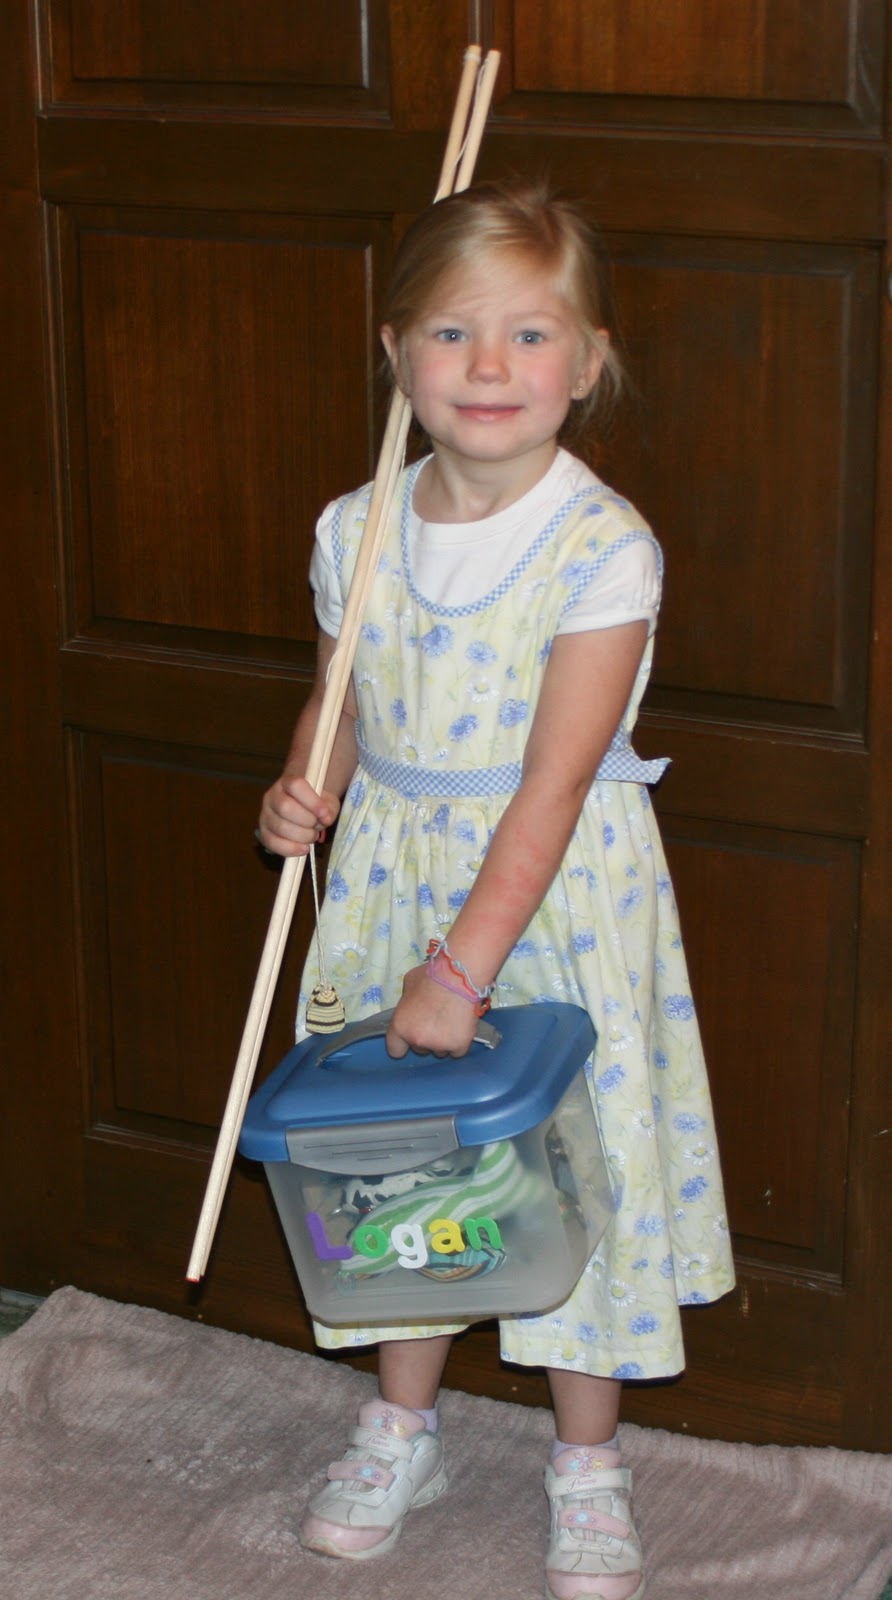
I made this "tackle box" container to hold the fishies, and added the little boys name with foam letter stickers. This box was $2.50 at Wal-Mart and the 10 little fishies fit perfectly inside.


Here is Emily being the model for our gift. She's all set to fish.

Here we are in action. The washers sewn to the fishies nose, connect perfectly to the magnets.

Emily and Julia really love this game. I will be making one for them this week. My older girls even love the game. I think this is going to be my new favorite gift for little ones.

Thursday, July 1, 2010

Baby Pillowcase Style Dress with Diaper Cover Tutorial DIY


This is a  pillowcase style baby dress I made for my friend who just had a little girl. I found this adorable blue toile fabric remnant and I had no idea what I would use it for. It was only about a dollar and too cute to pass up. I was thinking I would make a throw pillow cover with it. It was the perfect amount of material for a baby dress.

Measurements for this baby dress were 12" L , 17" W, Arm holes cut at 2.5" L x 2" W J cut, the bottom hemmed with bias tape and ilet ribbon. The armholes are lined with brown fabric made bias tape, and grosgrain ribbon for the tie. The diaper cover is just plain white fabric, also from a remnant. The entire dress cost about $5.00 to make.


Supplies:

2 pieces of cotton fabric cut 17"w x 12"L
Double fold bias tape to match
Matching grosgrain ribbon
Coordinating cotton thread
White eyelet ruffle trim or something similar. This can be optional.

Diaper Cover:
I had no idea how to make the diaper cover so I followed this tutorial with free pattern. I took an inch off the side and top of the pattern so it would fit a 3/6 mo baby.

The beauty of the pillowcase dress is that it can grow with the child. A dress that fits a 3 month old baby can be used as a shirt for a 12 month old child. It can be worn in warm or cold weather. A long sleeve shirt under and leggings is perfect for when it's cool out.


To make. Cut your fabric into 2 17" W x 12" L pieces. With right sides together sew each side length with 5/8" seam. Turn right way and press. Fold the dress in half lengthwise to cut arm holes. I made a template with card stock, 2.5" x 2" J cut. Trace or pin the template to the top and side of the dress and cut the arm holes. It's best to do them at the same time so that the arm holes are exactly the same.


I'm sorry I don't have photos of all the steps. I wasn't originally going to write a tutorial. Now sew bias tape on to each armhole. Next is the top front and back. Fold each side 1/4" and then 3/4" and press. This will be the casing for your ribbon. Sew the casing as close as you can to the edge. Also sew double fold bias tape along the bottom hem of the dress. Then sew on the eyelet ruffle, this is optionial but it really completes the dress.


You will determine how long you think the ribbon should be. Feed it through the front casing and then around through the back casing. Attaching a safety pin to the end will help make this easier. Keep the fabric casing flat and allow adequate ribbon to tie in a bow and have a little hang down. After  you have your cut length, scrunch the casing along the ribbon and tie a bow. It will look like this below:

Cute, isn't it?

Since this was a gift, I hung it on a special baby hanger and made a gift tag. I used a vintage photo of a little girl that I found and printed it on card stock. I cut it with pinking shears and tied it to the hanger with ribbon. I love the boutique look of the whole gift.


I attached a clothes pin to the back of the hanger with ribbon to hold the diaper cover.


If you have any questions on any of the steps. I'll be happy to help. This is a very easy project for even beginning sewers.

Wednesday, June 9, 2010

Letter "E" Tinkerbell Pixie or Fairy Glitter Green Bow Holder

This can be done with any letter


9" Wooden initial "E" purple base with green glitter coating, pink edges, shimmery fairy wings, dual Tinkerbell Pixies ribbon.
Length of each ribbon is 23"

Letter "J" Ladybug Bow Holder

This can be done with any letter

9" Wooden initial "J" Ladybug, double ribbon
Length of each ribbon is 22"

Glow in the Dark Letter "S" Green & White Polka Dot with Hook

This can be done with any letter

This letter has a washable coat of Glow in the Dark paint. If it gets wet it will wash off. Charge under the light for 1 minute and it will glow.

9" Wooden inital "S, lime green white polka dot with hook for purse or scarf

Letter "T" Purple Bow Holder

This can be done with any letter

6" Wooden Inital "T" Lavender/Purple, single ribbon
Length of each ribbon is 17"

Bottom of Ribbon